Cleaning a veterinary endoscope might sound like a daunting task, but it's crucial for ensuring the health and safety of our furry friends. Just like how we wouldn't want to use a dirty toothbrush, our pets deserve the same level of care when it comes to medical instruments. In this article, we'll break down the process into manageable steps, sprinkle in some tips and tricks, and make sure you feel confident in tackling this important task.
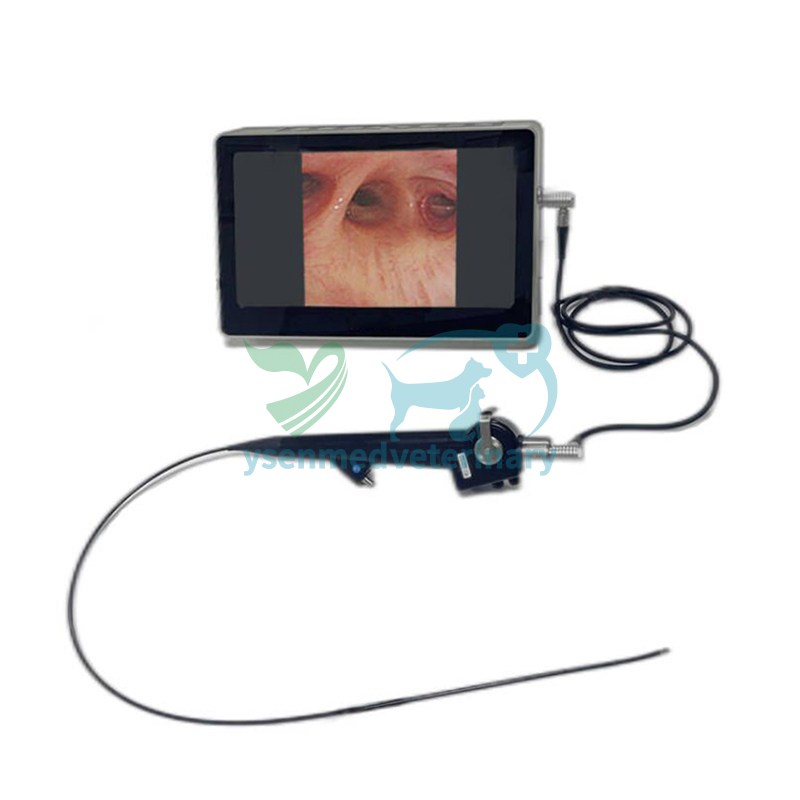
Before diving into the cleaning process, let's take a moment to understand what a veterinary endoscope is. This nifty tool allows veterinarians to look inside animals' bodies without needing to perform invasive surgery. It's used for a variety of procedures, from examining the gastrointestinal tract to diagnosing respiratory issues. Given its critical role in pet healthcare, keeping it clean is non-negotiable.
Why is Cleaning Important?
You might wonder, “Why should I care about cleaning an endoscope?” Well, think of it this way: every time an endoscope is used, it comes into contact with bodily fluids, tissues, and potentially harmful pathogens. If not cleaned properly, these contaminants can lead to infections, inaccurate diagnoses, and even harm to future patients. In short, cleaning is essential for maintaining the integrity of the equipment and the health of your patients.
Materials Needed for Cleaning
Before you start the cleaning process, gather the following materials:
- Endoscope cleaning solution: Ensure it's specifically designed for veterinary use.
- Soft cloths or sponges: These will help you wipe down surfaces without scratching them.
- Brushes: Small brushes can help clean the internal channels of the endoscope.
- Distilled water: This is ideal for rinsing, as it doesn't contain minerals that could leave deposits.
- Gloves: Always wear gloves to protect yourself from any contaminants.
- Drying rack: A clean, designated area to let the endoscope dry completely.
Step-by-Step Cleaning Process
Step 1: Prepare the Work Area
Start by setting up a clean, organized workspace. Make sure it's free from distractions and potential contaminants. Lay out all your materials so you have everything at your fingertips.
Step 2: Put on Your Gloves
Safety first! Before you handle the endoscope, put on your gloves. This protects both you and the equipment from any harmful bacteria or viruses.
Step 3: Disassemble the Endoscope
If your endoscope has detachable parts, carefully disassemble it according to the manufacturer's instructions. This step is crucial for ensuring a thorough clean. Keep track of all components so you can reassemble them later.
Step 4: Rinse with Distilled Water
Start the cleaning process by rinsing the endoscope with distilled water. This helps remove any larger debris and bodily fluids. Make sure to rinse all channels and surfaces thoroughly.
Step 5: Apply Cleaning Solution
Next, apply the veterinary endoscope cleaning solution. Follow the instructions on the product to ensure you're using the right amount. Use a soft cloth or sponge to wipe down the external surfaces, and don't forget to clean the lenses carefully.
Step 6: Clean Internal Channels
Now it's time to tackle the internal channels. Use a brush to scrub the insides gently. Be cautious not to use too much force, as you don't want to damage any delicate components. Rinse again with distilled water to remove any residual cleaning solution.
Step 7: Disinfect the Endoscope
After cleaning, it's vital to disinfect the endoscope. Use a veterinary-grade disinfectant solution, following the manufacturer's guidelines for dilution and contact time. This step is essential for killing any remaining pathogens.
Step 8: Rinse Again
Once the disinfectant has done its job, rinse the endoscope thoroughly with distilled water. This helps remove any leftover disinfectant, ensuring the endoscope is safe for future use.
Step 9: Dry the Endoscope
After rinsing, place the endoscope on a drying rack. Allow it to air dry completely before reassembling or storing it. This step is crucial because moisture can lead to mold growth or damage the equipment.
Step 10: Store Properly
Once the endoscope is dry, store it in a clean, dry place. Use a protective case if available, and ensure it's kept away from direct sunlight or extreme temperatures.
Tips for Effective Cleaning
- Regular Maintenance: Make cleaning a regular part of your veterinary practice. The more frequently you clean, the easier it becomes.
- Follow Manufacturer Guidelines: Always refer to the specific cleaning instructions provided by the manufacturer. Different endoscopes may have unique requirements.
- Use the Right Products: Ensure that your cleaning solutions are specifically designed for veterinary endoscopes to avoid damaging the equipment.
- Document Your Process: Keep a log of cleaning dates and procedures. This can help track maintenance and ensure compliance with health regulations.
Common Mistakes to Avoid
- Skipping Rinsing Steps: Don't skip rinsing after applying cleaning solutions or disinfectants. Residual chemicals can be harmful to pets.
- Using Abrasive Materials: Avoid using rough sponges or brushes, as they can scratch the endoscope's surfaces.
- Neglecting Regular Cleaning: Don't wait until the endoscope looks dirty. Regular cleaning prevents buildup and ensures optimal performance.
When to Seek Professional Help
If you notice any damage to the endoscope or if it's not functioning properly after cleaning, it's best to consult a professional. Trying to fix it yourself could lead to further damage or safety issues. Regular servicing by a qualified technician can also prolong the lifespan of the equipment.
Conclusion
Cleaning a veterinary endoscope may seem like a chore, but it's a vital part of ensuring the health and safety of our beloved pets. By following the steps outlined in this guide, you can maintain your endoscope in top condition, ready for the next examination. Remember, a clean endoscope means better care for our furry friends. So, roll up your sleeves, put on those gloves, and give your endoscope the TLC it deserves!
FAQ
What is the best cleaning solution for a veterinary endoscope?
The best cleaning solution for a veterinary endoscope is one specifically formulated for medical instruments. These solutions are designed to effectively remove organic material and disinfect surfaces without damaging the delicate components of the endoscope. Always check the manufacturer’s recommendations for compatible cleaning products to ensure optimal results.
How often should a veterinary endoscope be cleaned?
A veterinary endoscope should be cleaned after each use to prevent contamination and ensure the safety of future patients. Regular cleaning helps maintain the instrument's functionality and extends its lifespan. Additionally, routine maintenance checks should be performed to identify any wear or damage that could affect performance.
Can I use regular household cleaners to clean a veterinary endoscope?
No, you should avoid using regular household cleaners on a veterinary endoscope. These products may contain harsh chemicals that can damage the delicate materials of the endoscope or leave harmful residues. Always use cleaning solutions specifically designed for veterinary or medical instruments to ensure safety and effectiveness.